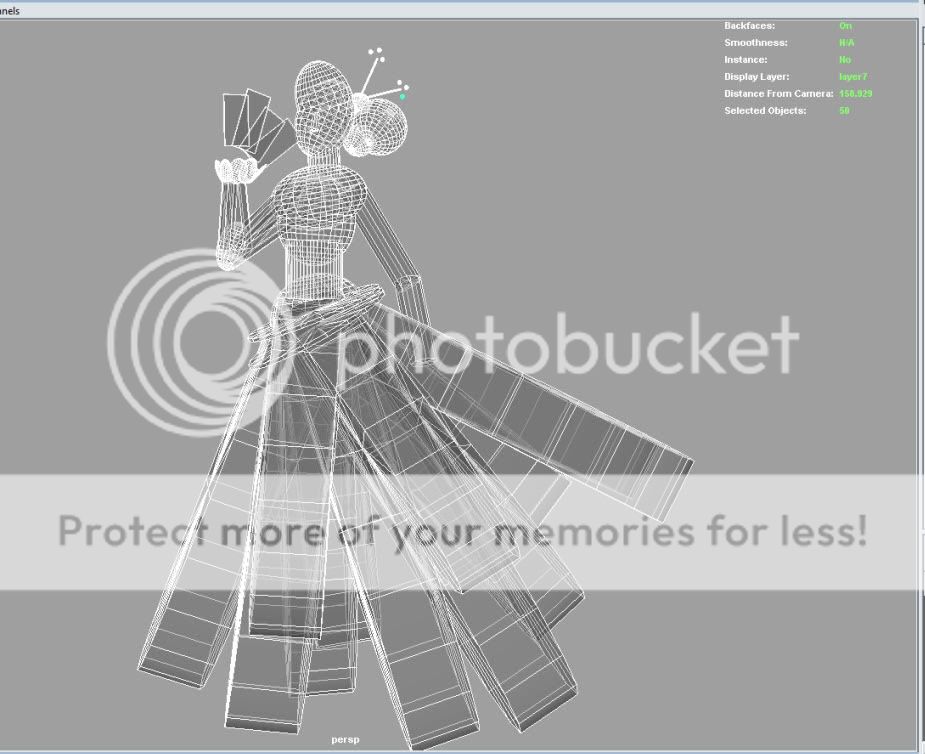
Introduction to Maya - Rendering in Arnold
This course will look at the fundamentals of rendering in Arnold. We'll go through the different light types available, cameras, shaders, Arnold's render settings and finally how to split an image into render passes (AOV's), before we then reassemble it i
# 1 20-02-2010 , 01:57 AM
Gen's Avatar
Super Moderator
Join Date: Dec 2006
Location: South FL
Posts: 3,522

GecT - Primitives

Well, heres mah thread. Started fiddling around a bit, this 50 object limit is killer! >< Still fun though. And the border isn't Photoshop, its the background to my render view window :3


user added image

And this is show that all is one the up and up, all primitives and there are 50 of them.

user added image


- Genny
__________________
::|| My CG Blog ||::
::|| My Maya FAQ ||::
# 2 20-02-2010 , 05:09 AM
G-Man's Avatar
Subscriber
Join Date: May 2004
Location: Bowling Green. Kentucky U.S.A.
Posts: 810
ITs nice, i like it...
very clever actually.
I do say though, however that i think you should fine two primitives to rid yourself of, so that you can add breasts? No female silhouette is complete without big knockers?!

In all seriousness though,
I do love the inventive and ingenious way you used the primitives to suggest such a detailed silhouette. I have a feeling that this in its self is much better then the Normal lot of Doors and fire escapes we will be seeing out of this.
(no offense to those who would take that route)
g-man


Follow My Business
On The Web!
Or
On Facebook!
# 3 20-02-2010 , 05:35 AM
Gen's Avatar
Super Moderator
Join Date: Dec 2006
Location: South FL
Posts: 3,522
Why thank you very kindleh. Actually I had to delete a few pieces :/ I was going to make some breasteses but decided it looked better without them if I didn't have enough geo to get them done correctly.


- Genny
__________________
::|| My CG Blog ||::
::|| My Maya FAQ ||::
# 4 20-02-2010 , 09:09 AM
honestdom's Avatar
The Nurb Herd
Join Date: Oct 2007
Location: London
Posts: 2,381
ha, nice workaround on the one material. looks good user added image

# 5 20-02-2010 , 10:19 AM
Chirone's Avatar
Subscriber
Join Date: Dec 2007
Location: NZ
Posts: 3,125
nice!
i should get posting some of the things i've done


that's a "Ch" pronounced as a "K"

Computer skills I should have:
Objective C, C#, Java, MEL. Python, C++, XML, JavaScript, XSLT, HTML, SQL, CSS, FXScript, Clips, SOAR, ActionScript, OpenGL, DirectX
Maya, XSI, Photoshop, AfterEffects, Motion, Illustrator, Flash, Swift3D
# 6 20-02-2010 , 03:48 PM
Gen's Avatar
Super Moderator
Join Date: Dec 2006
Location: South FL
Posts: 3,522
Thanks guys. I have a few ideas for this swirling around the ol' noggin, I'll post some more stuff later.


- Genny
__________________
::|| My CG Blog ||::
::|| My Maya FAQ ||::
# 7 20-02-2010 , 06:49 PM
THX1138's Avatar
19 year Veteran
Join Date: Sep 2002
Location: U.S.A.
Posts: 2,140
Fantastic work GecT! looking forward to more stuff! user added image

# 8 20-02-2010 , 09:11 PM
EduSciVis-er
Join Date: Dec 2005
Location: Toronto
Posts: 3,374
Awesome idea. Great to see people are picking up this challenge (after I've bailed). I was originally going to set the limit at 100, but I figured if you can get an idea across in 100, you can get it across in 50. Maybe next time we should set the limit at 10... *steeples fingers together in a Burns-esque manner* "excellent".

# 9 21-02-2010 , 12:40 AM
ColdWave's Avatar
Registered User
Join Date: Sep 2006
Location: Bulgaria, Vidin
Posts: 1,310
The idea is 10 of 10 !

Gr8

# 10 21-02-2010 , 01:55 AM
Gen's Avatar
Super Moderator
Join Date: Dec 2006
Location: South FL
Posts: 3,522
Thanks for the positive feedback user added image

On second sight I wanted to change some stuff, thought I'd add more contrast. I ditched the visible area light in the back and used a poly plane that has two area lights linked to it, one with a negative value to suck some of the light away in order to create a gradient, decided that the top part of image would be better of dark, I think it creates a bit of mystery. Light linked some more area visible area lights to give the dress more depth but not too bright because the bottom part of the backdrop is alright light colored, and that was my reason for using area lights for the fan and hair accessories bits to pop out of the darkness.

user added image


And the second one is a sleepy little planet with Saturn for a moon user added image

The rings are made of a flattened sphere and a few spotlights linked, the dark parts were the result of alternating positive and negative intensities. The area light behind the cam is also negative. Stars are area lights using a disk shape.

user added image

user added image

user added image

user added image


- Genny
__________________
::|| My CG Blog ||::
::|| My Maya FAQ ||::
# 11 21-02-2010 , 02:47 AM
Chirone's Avatar
Subscriber
Join Date: Dec 2007
Location: NZ
Posts: 3,125
wow, that is some cleverness with the lights

totally forgot you can set lights to negative intensities


that's a "Ch" pronounced as a "K"

Computer skills I should have:
Objective C, C#, Java, MEL. Python, C++, XML, JavaScript, XSLT, HTML, SQL, CSS, FXScript, Clips, SOAR, ActionScript, OpenGL, DirectX
Maya, XSI, Photoshop, AfterEffects, Motion, Illustrator, Flash, Swift3D
# 12 22-02-2010 , 05:35 PM
Gen's Avatar
Super Moderator
Join Date: Dec 2006
Location: South FL
Posts: 3,522
Yeah, I was thinking about light linking poly pipes to make the rings but that would've cost too much so I went with the lights and sphere. Actually, I think this image with Saturn will be my entry, I had way more fun with this one.


- Genny
__________________
::|| My CG Blog ||::
::|| My Maya FAQ ||::
Posting Rules Forum Rules
You may not post new threads | You may not post replies | You may not post attachments | You may not edit your posts | BB code is On | Smilies are On | [IMG] code is On | HTML code is Off

Similar Threads