Home / Video Courses / Integrating 3D models with photography

About This Course

Integrating 3D models with photography

In this tutorial we conclude our robot series, by integrating our 3D model along with a photograph to create a complete scene within Maya. To achieve this we look at making a very fast character posing rig with HumanIK. This rigging method is intended for posing any humanoid character.

We continue with looking at how to export textures from Substance Painter and design the shader within Arnold. Here we cover displacement, normal mapping, reflectivity, metalness, and everything you need to get the detail that you had in Substance Painter into Maya.

From here we take a look at the photographic backing plate in Lightroom. We do some basic color correction, lens correction, and take a look at some of the meta data of the image. This allows us to match it the Maya camera later on.

Once we've imported our photographic backing plate into Maya we look at the basic lighting of the scene, matching the scene lighting with the lighting on the backing plate. After this we create geometry within Maya and match it to the backing plate. This is an essential part of the process allowing our geometry to capture the shadows coming from the lighting. You end up with a much more connected foreground and background image compared to taking one and overlaying it over the other.

Finally we look at posing the character, finalizing the lighting, and render settings in Arnold. We also look at rendering out AOVs (Arnold render passes) within a multi layered EXR.

There is a final bonus part of this tutorial, where we cover reassembling the image within Nuke and color grading to match the black and white values of our 3D render to our background plate. This will oftentimes give you a much more believable image.

We've included the scene files and textures for this tutorial. So if you haven't followed along with other robot tutorial volumes you can grab the scene and work along with us.

Learn VFX from industry professionals.

Unlimited access to every course
Online community support
Project files for download

Learn VFX from industry professionals.

Buy and own your content
Online community support
DRM free files that don't expire
Come back and re-download at any time

Related Courses

Other courses you might find interesting
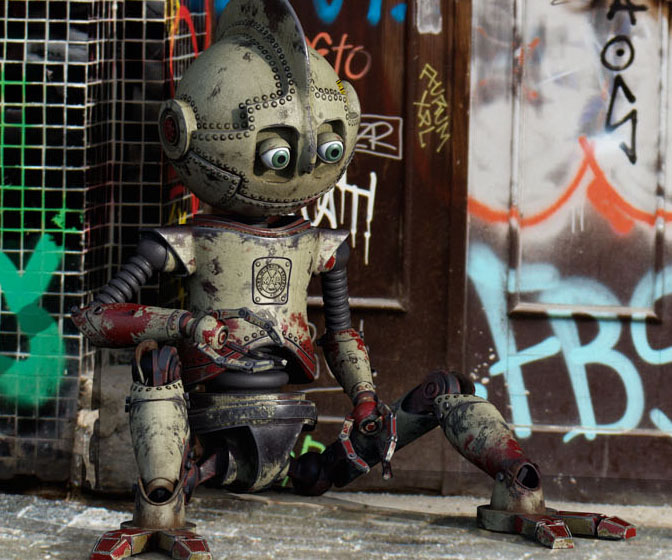
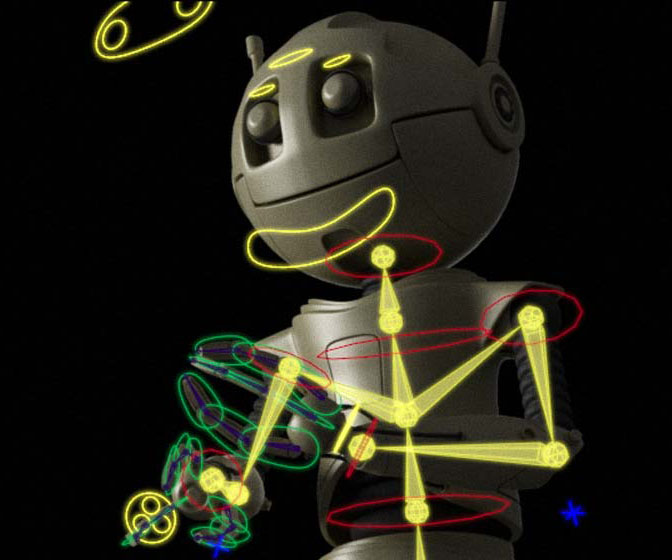
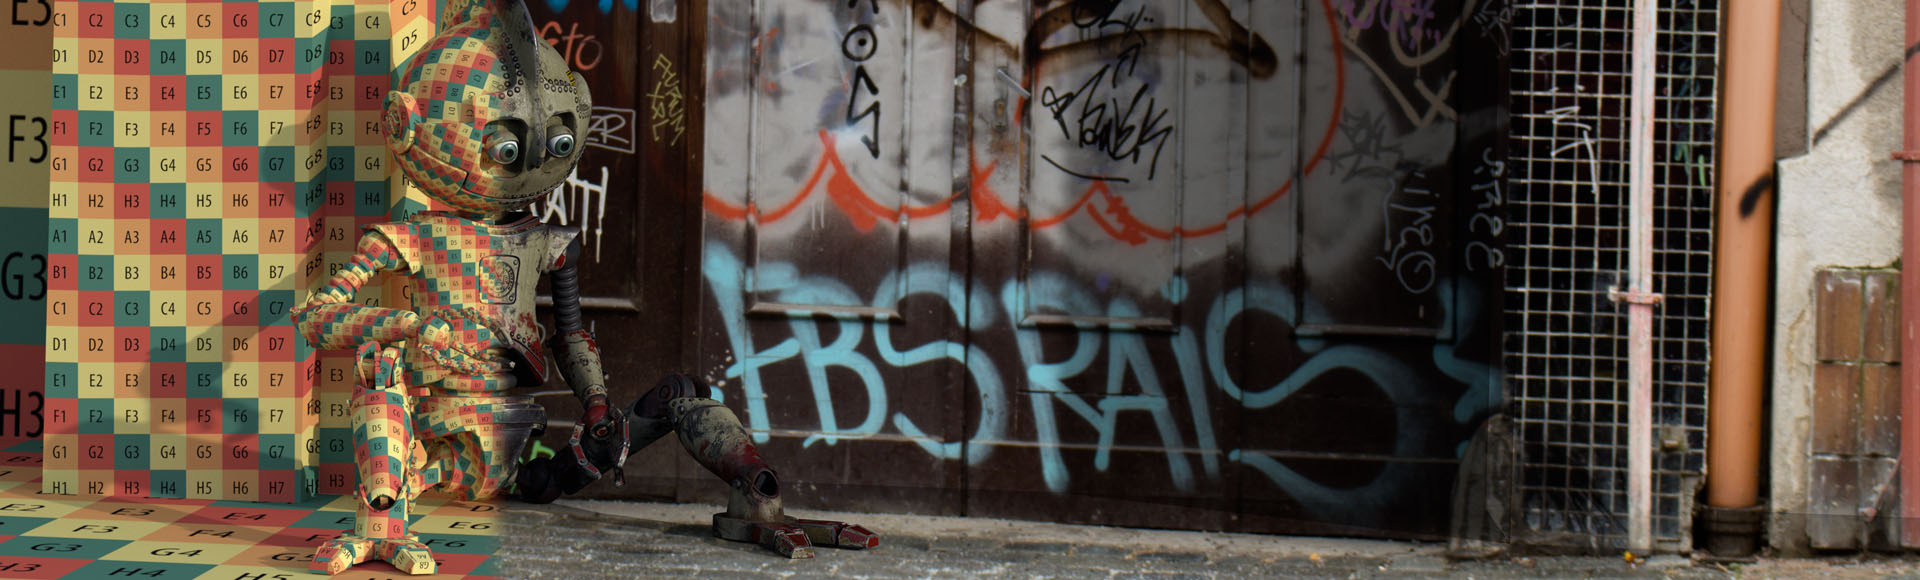
Images

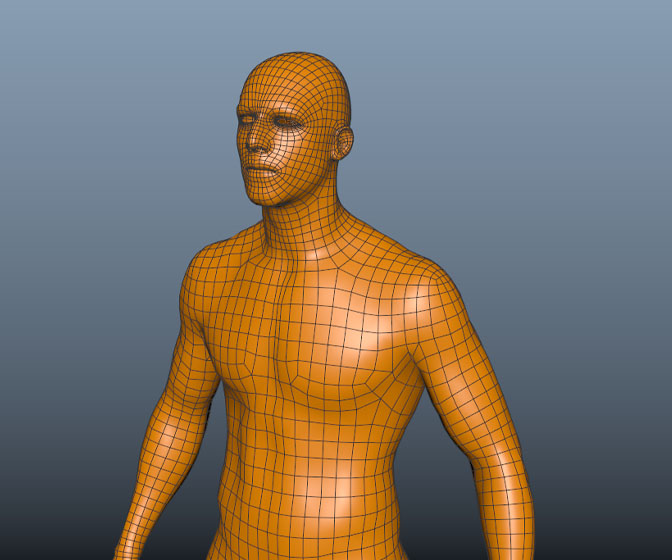
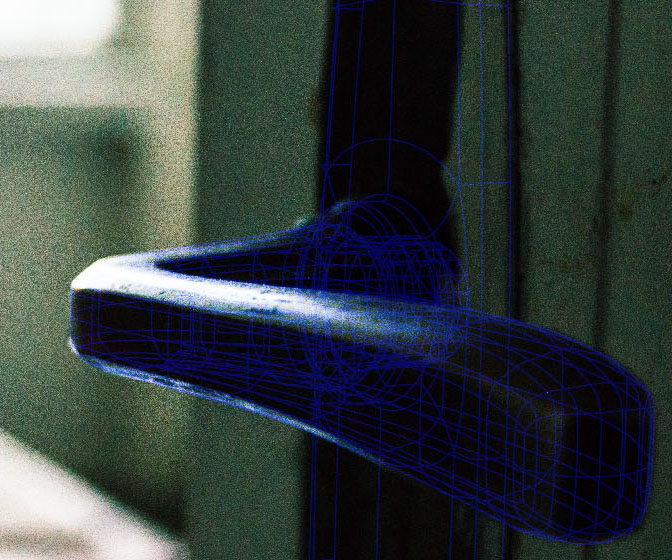
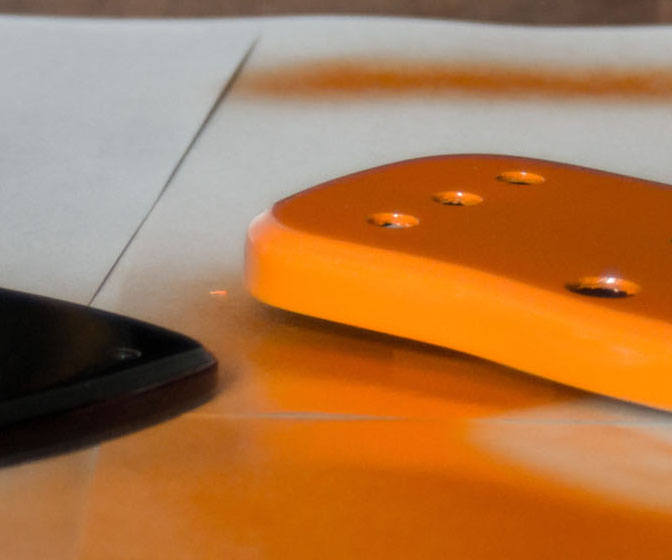
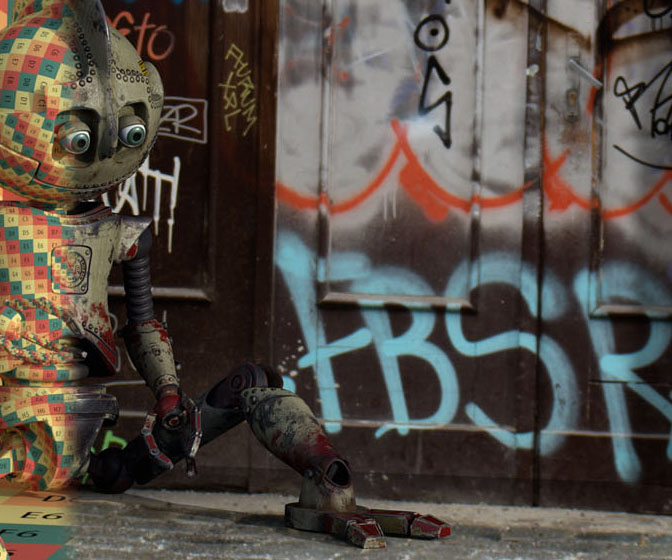
Images from this course

Main banner from Integrating 3D models with photography

Lesson breakdown

Below you can find a breakdown for each individual lesson in this course

  • Lesson Pack 01 0. Intro Video
  • Lesson Pack 01 1. Creating a fast character posing rig with HumanIK
  • Lesson Pack 01 2. Exporting our substance textures, and designing a shader for Arnold
  • Lesson Pack 02 3. Continuing our Arnold shader, adding displacement, and starting the lighting
  • Lesson Pack 02 4. Finalizing our shader. Test rendering with Arnold
  • Lesson Pack 03 5. Creating a 3D scene to match our photographic environment
  • Lesson Pack 03 6. Matching our 2D and 3D elements
  • Lesson Pack 04 7. Using HumanIK to pose our character, final render settings
  • Lesson Pack 04 8. Final render with AOVs, colour grade in Nuke

Is streaming not right for you?

We offer DRM free digital downloads as well

While streaming is the default option these days, we get that it's not for everyone. Maybe there's a specific course you're interested in, and you'd rather download it to keep.

Our DRM free downloads don't expire, so you can come back and re-download at any time. We keep an online course library for you.

Want to try our streaming service?

we also offer a subscription based streaming service of our courses

If you're set on learning Maya, our streaming plans will get you up and running quickly. With a subscription, you can watch every course on the site. That's more than 300 hours of Maya training. Blow up a bank or texture a dinosaur. Build 3D lego or render an interior scene. We have projects that make learning interesting.

Latest Courses

Some of our more recent courses