okayy... you mean shaders correct? Its quite complicated depending on what you're trying to create a shader for.
Personally a "shader" generally does not work for each and every part of a model which is why most people need to create a "map" for each effect.
For most cases you're really going to be using Ambient Color, Alpha, (obviously color), Specular, and Bumpmapping. (But that really depends on what you're making)
Here's a skin I made for some guy's gun model --
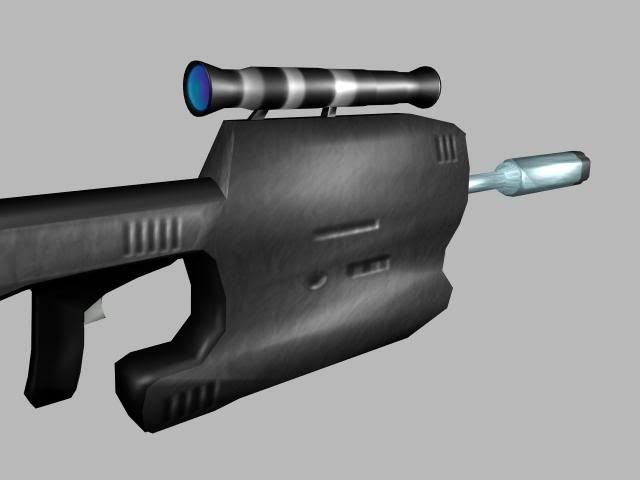
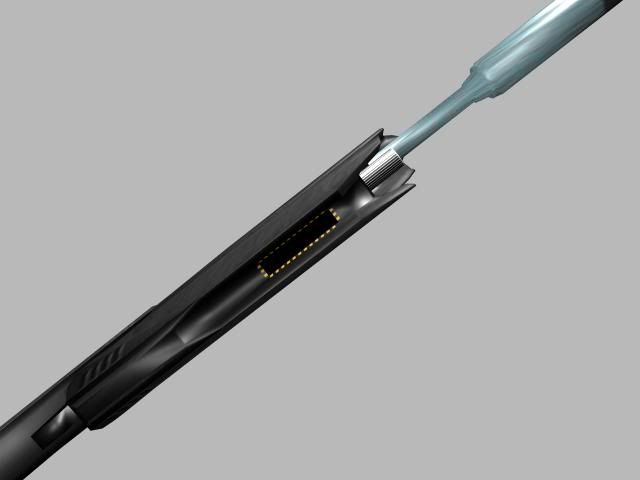
Note the shinyness of the model -- over the barrel it was quite shiny, over the rest of the gun it was slight, and over the hole where the clip is inserted into there was no shine (why would a hole shine? Honestly)
That's specular mapping... higher value makes the section "shine" more... Metal shines more than plastic which shines more than nothing. You'll also need to play with the specular hardpoint and other values to make the shine more widespread or pointy. (Don't have a picture to illustrate what I mean) -- edit: Think of giving more Specular value as adding more varnish to the model.
Not the sides of the gun where it appears to indent in -- that's not bumpmapping (the game didn't support animated objects with bumpmaps) but its faked using burn and dodge tools on the textures. For a more realistic view though -- its good to create a bumpmap... basically what that means is the higher or lower the value (more white or more black) each point is on the texture, the higher or lower it will appear which Maya then fakes with lighting effects to make it look bumped.
Now there's something called normal mapping which basically shifts around fake vertexes making a low poly object look high poly -- that's "Next-Gen" though and is all automated (Maya builds it for you if you have 2 versions, one high poly and one low poly of the same model)
Alpha basically just makes a part of a model more or less see-through.
Hope that helps a bit.
(If your problem's with UV Mapping -- that's a different story)
My basic tip for you is to "fake" whatever you can to save rendering time and also to give you more control over what it will look like -- some things you can't fake at times but it works more often than people try:

The optical sight of the model actually was made to have some light blue, some darker blue, and actually even some purple to give a glassy effect. This will not change with orientation but it still works.
Last edited by Phopojijo; 21-08-2005 at 06:08 PM.