Over the last couple of years UV layout in Maya has changed for the better. In this course we're going to be taking a look at some of those changes as we UV map an entire character
I am required to create an animation of some sort as a graded project in the computer animation class im currently taking. So here is what i thought of: A short, geeky, clumsy, cartoony yet a semi realistic little blue guy...
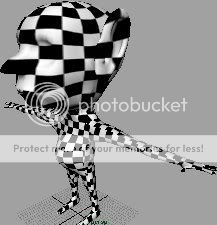
I'm pretty much with the modeling aspect. Not too happey about the way the feet, hands, and nose look, but I'm starting to feel a wee bit slightly pressured with time dwindling....
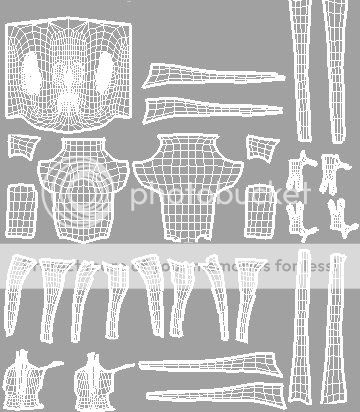
I have some research on texturing and hope to create a semi-realistic looking guy. I'd appreciate all the suggestions I can get. This may turn out to be bit big for my britches, but, it'll be a great learning experience (I hope) in the end. Thanks all in advance! ....now to work on them UV's.....
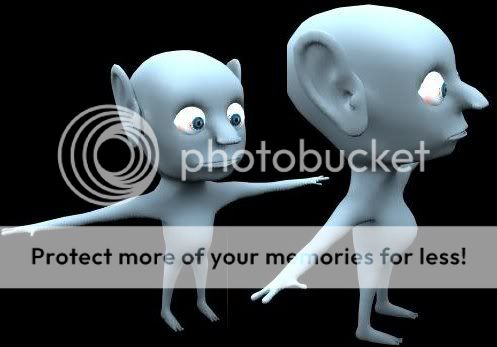
I beleive im following forum rules in regards to image size and as for plagerism, i dont believe im doing that.... although the guy does seem to carry some of the facial characteristics of Pixar Animations "Geri's Game"
Dont look to me for feedback, partly because I suck, and secondly because.............I suck. Anyways the real reason I posted this was to say that this model really reminds me of verne (I dont remember his last name), otherwise known as "Mini-Me". Hes so funny.
i seem to be having a minor set back with backface culling...
I turn it on, i turn it off: no matter what i do, i can only select the polygons in front and cant select any from behind. Its probably a tiny fix im missin somewhere.... Help??? google didnt help much...
where are you setting it from? Prefrences, the panel Shading menu, the Display>Component Display, or from the Attribute Editor. Find the one that restores your faces... Don't know why Alias put this option all over the place.
AIM: mhcannonDMC
"If you love your job, you'll never work another day in your life."
Google searched Verne They do look semi alike there, although ive never seen the guy before... Also, thx mhcannon for the backface culling help. I was going thru the Window>Settings/Preferences>Preferences. Had no idea they had it in the attribute editer as well. Strange.
So this is what i have for the mapping so far. this will be my 4th attempt. Previously, i had tried Spherical mapping, cylindrical mapping. I also tried automatic mapping which i like very well, but i had issues of it the UVs blowing up after i opened a saved file of auto. mapping. So now im doing this with planar mapping and so far so good.
Now my question: What would be best for the head? Spherical mapping? or continue with the planar mapping?
You may not post new threads |
You may not post replies |
You may not post attachments |
You may not edit your posts |
BB code is On |
Smilies are On |
[IMG] code is On |
HTML code is Off