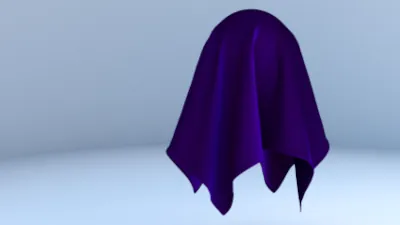
Maya for 3D Printing - Rapid Prototyping
In this course we're going to look at something a little different, creating technically accurate 3D printed parts.
#
1
26-04-2006
, 01:34 AM
Subscriber
Join Date: Oct 2005
Join Date: Oct 2005
Location: US of A
Posts: 114
Texturing messing up
Death is certain, Life is not.
#
2
26-04-2006
, 01:37 AM
Subscriber
Join Date: Oct 2005
Join Date: Oct 2005
Location: US of A
Posts: 114
Death is certain, Life is not.
#
3
26-04-2006
, 01:42 AM
Subscriber
Join Date: Oct 2005
Join Date: Oct 2005
Location: US of A
Posts: 114
Death is certain, Life is not.
#
4
26-04-2006
, 01:22 PM
If you don't know how to lay out UVs then I suggest that you select your model then choose "autoUV" This will lay out your UVs nicely but you probably won't be able to just paint blobs. I assume you are painting with Photoshop?.. anyway, The UVs will be layed out nicely but some of them will be seperate from the "main group" and you will have to figure out which tiny patch of UVs is assigned to which part of the model. The easiest way to do this would be to paint the small patches of UVs with bright colors then apply them to the model and see where they end up. Once you know where all the UVs are assigned then you can paint your model with confidence that the paint will go where you want it to.
Remember; Maya isn't designed to be easy. you may want to buy some books and download some tutorials..
#
5
26-04-2006
, 04:27 PM
Subscriber
Join Date: Oct 2005
Join Date: Oct 2005
Location: US of A
Posts: 114
Death is certain, Life is not.
Posting Rules Forum Rules
Similar Threads
Hardware texturing problem...
by DeirdreDarling in forum Maya Materials & Textures replies 2 on 05-07-2012
Preparing a model before texturing...
by goggles in forum Maya Basics & Newbie Lounge replies 7 on 09-09-2011
Getting good in texturing
by chameleon101 in forum Maya Basics & Newbie Lounge replies 3 on 11-08-2011
maya texturing - whole process greatly confusing
by n88tr in forum Maya Materials & Textures replies 11 on 09-06-2010
Texturing without Photoshop?
by Classical in forum Maya Basics & Newbie Lounge replies 2 on 14-11-2007
Topics
Free Courses
Full Courses
VFX News
How computer animation was used 30 years ago to make a Roger Rabbit short
On 2022-07-18 14:30:13
Sneak peek at Houdini 19.5
On 2022-07-18 14:17:59
VFX Breakdown The Man Who Fell To Earth
On 2022-07-15 13:14:36
Resident Evil - Teaser Trailer
On 2022-05-13 13:52:25
New cloud modeling nodes for Bifrost
On 2022-05-02 20:24:13
MPC Showreel 2022
On 2022-04-13 16:02:13


