Introduction to Maya - Rendering in Arnold
This course will look at the fundamentals of rendering in Arnold. We'll go through the different light types available, cameras, shaders, Arnold's render settings and finally how to split an image into render passes (AOV's), before we then reassemble it i
#
121
18-06-2012
, 08:57 AM
The Goodyear logo was found on the web.
The tread pattern is based on a photo of my car's tires and traced out in Photoshop to create a repeatable tile pattern.
All the text is just typed up in Photoshop with appropriate fonts.
The texture concept as one strip is a good one, it eliminates any texture mismatch of the side and tread and also curves all the logos and lettering for you. The trick is to find a way to unwrap the tire's UV so that it is one long strip, I ended up getting a partial solution with the unwrap tool and then doing it mostly by moving UV points manually. There must be an easier way to unfold it just using the tools and knowing them better.
#
122
18-06-2012
, 09:19 AM
I just typed in Google tyre tread patterns chilledout...or you could go to the tyre manufacturers websites and get them from there. You could then just grab a section in PS and repeat the pattern over the UV...make a bump or normals out of it and apply.
cheers bullet
https://www.google.com.au/search?q=ty...w=1440&bih=739
bullet1968
"A Darkness at Sethanon", a book I aspire to model some of the charcters and scenes
#
123
18-06-2012
, 10:19 AM
yea dj its hard getting the unwrap right, i kinda maybe stole your picture of the tyre pattern(im sorry, ill never use it for anything other than the bump map testing i was doing) because i was intrigued to see if i could get a good bump map, and i literally unwrapped the geometry into one long rectangle, it turned out pretty ok, my problem was the bit of geometry where the uv's at both ends of the rectangle where from the same bit of geometry, required alot of tweaking. lol
#
124
18-06-2012
, 12:10 PM
I had the same problem with the joins, I guess you mean they are a little curved right at the end, I think it has something to do with them being smoothed UVs. I just ended up moving the UV points in the UV texture editor until those bits joined up.
Today I learned how to use locators to control the rotation pivots of other objects, yay!
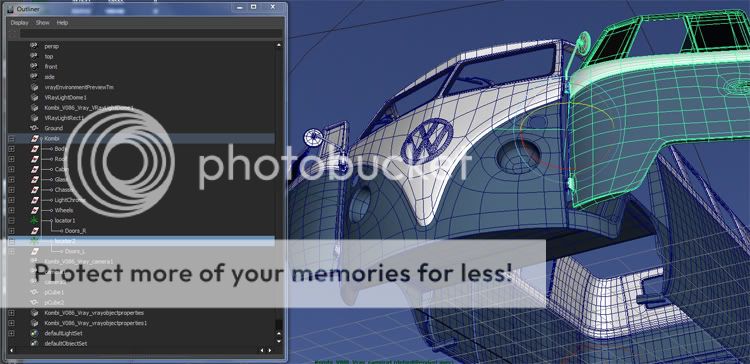
I was trying to change the rotation pivot of the actual object and came across this cryptic instruction in another CG thread.
"Create a locator , rotate locator
Select object ,then select locator and press "p" key
Freeze Transformation
Transformation Tool--> Move Tool option , switch Local-World
 "
"The last line doesn't mean anything to me but the first three lines told me what I needed to do.
#
125
18-06-2012
, 05:12 PM

um my uv map looks like that, the blue circle is one side of the tyre, and i just basically put the picture of the tyre in it, duplicated it and put it on the other side and the red is the part of the tyre i didnt care about. lol.
so yea im not exactly a role model
 and may get shot by the pros for doing it this way
#
126
18-06-2012
, 05:14 PM
#
127
18-06-2012
, 11:46 PM
well done chilled....nice.
I used to make a cylinder attached through the pins to make sure....
cheers bullet
bullet1968
"A Darkness at Sethanon", a book I aspire to model some of the charcters and scenes
#
128
19-06-2012
, 01:46 AM
Hey Chilledoutredhead, can you explain your method for the un-wrapping a little more.
#
129
19-06-2012
, 09:47 AM
#
130
19-06-2012
, 12:39 PM
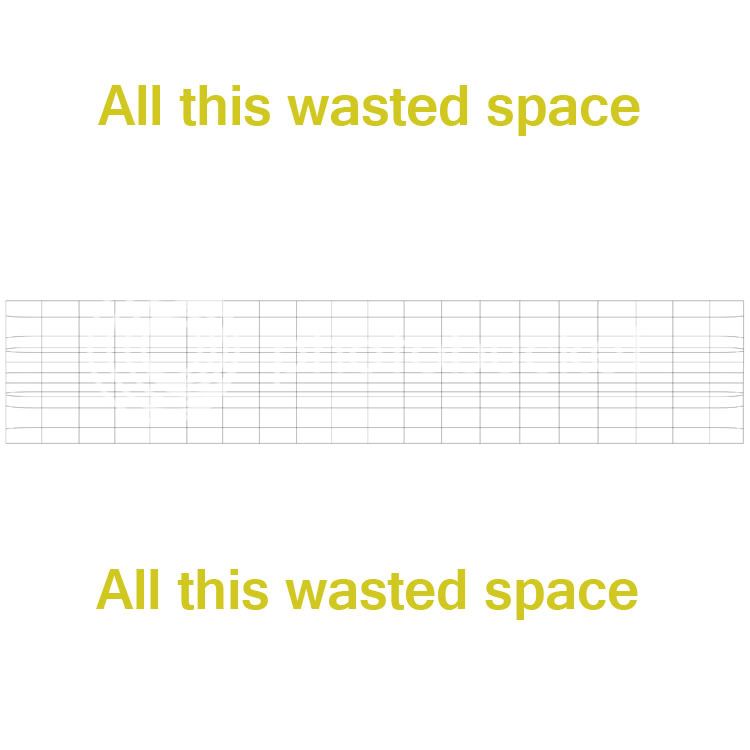
And considering it was a large texture at 300 dpi, a large image file to load back into Maya. Here's how the base graphics were laid down.

This is a larger version that might be of use, but none of my final maps actually looked like this, these are just the base elements against grey, I turned this into a weathered diffuse map, a normal map and a reflection map. Still it may help someone test the idea.

Please don't anyone expect this to be an authentic copy of an actual tire, the specs are kind of random.
#
131
19-06-2012
, 01:03 PM
#
132
19-06-2012
, 03:50 PM
#
133
25-06-2012
, 04:06 PM
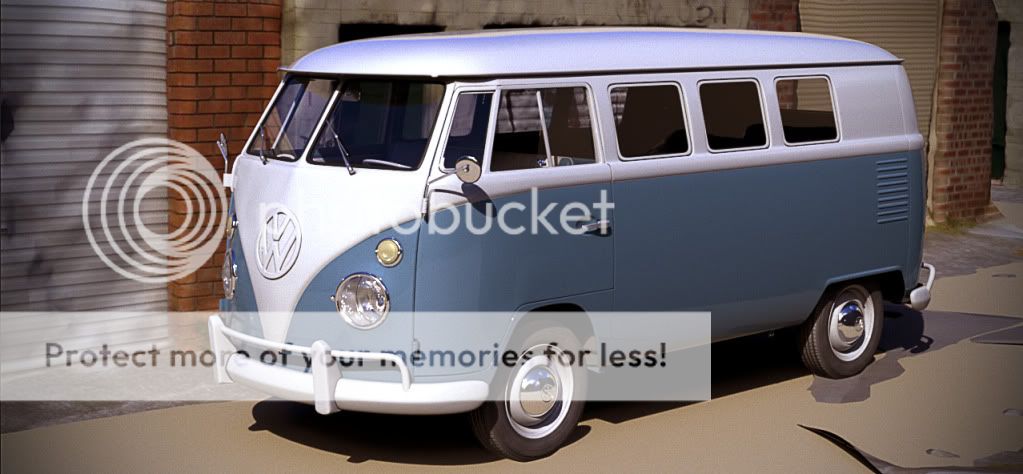
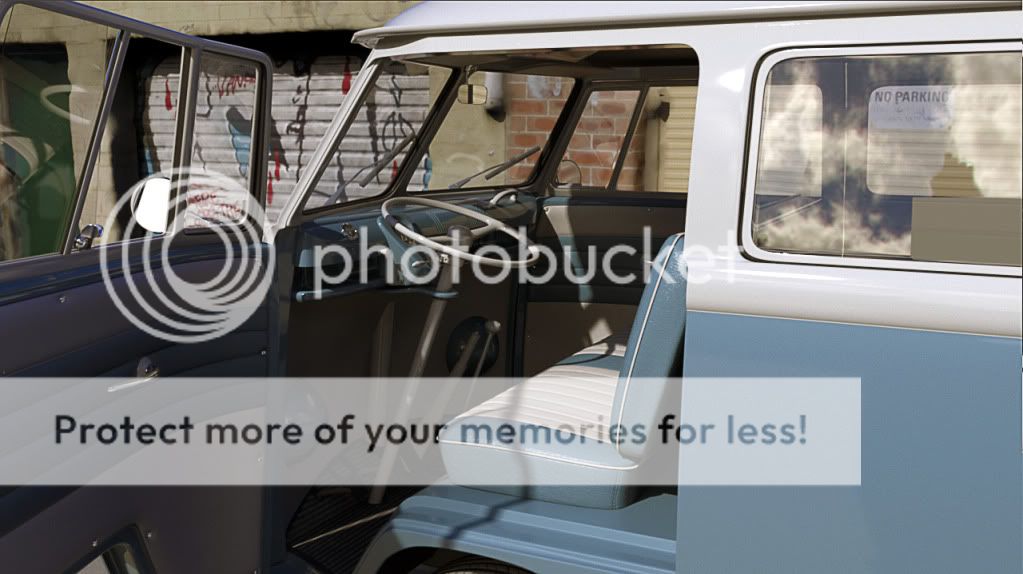

Almost the last thing I've put on this model are these curtains...
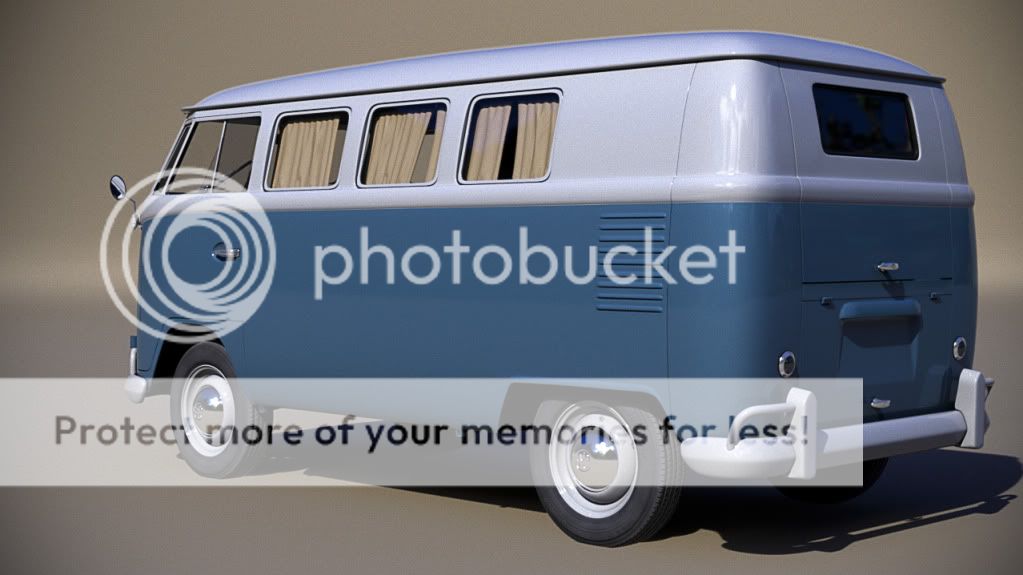
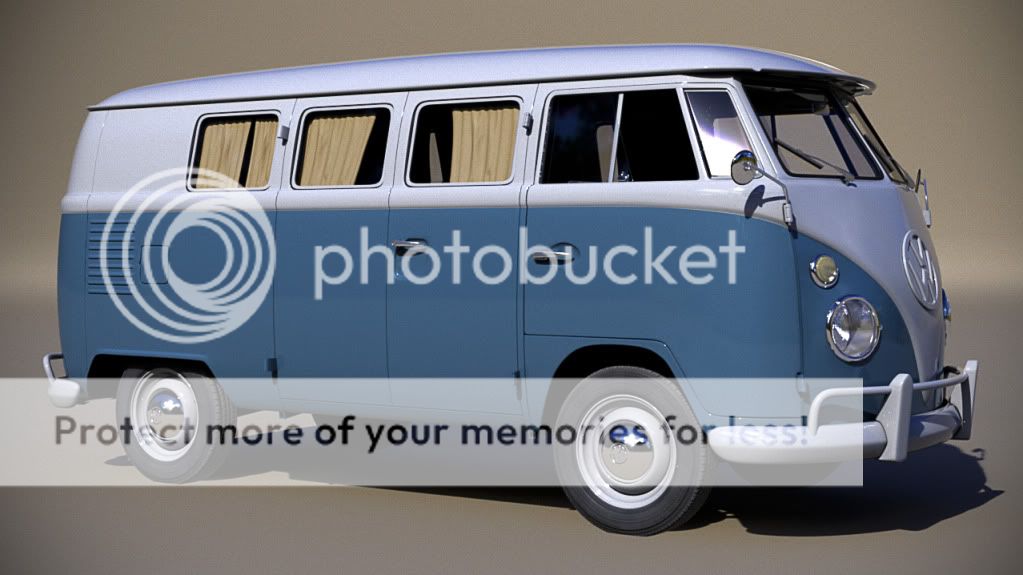
...basically finished apart from some tiny details here and there. So the next phase is making an environment in Maya, some dirty back street scene I think.
#
134
25-06-2012
, 08:54 PM

#
135
25-06-2012
, 10:39 PM
Posting Rules Forum Rules
Similar Threads
Reliant Regal, Only Fools & Horses Van
by 3dStudioUK in forum Work In Progress replies 6 on 03-12-2011
Camper Van
by Camrat in forum Finished Work replies 1 on 08-05-2011
More from Victor the police van and Paul the Police car
by yikes in forum Work In Progress replies 14 on 27-05-2003
Police Car and Van
by yikes in forum Work In Progress replies 7 on 10-04-2003
Topics
Free Courses
Full Courses
VFX News
How computer animation was used 30 years ago to make a Roger Rabbit short
On 2022-07-18 14:30:13
Sneak peek at Houdini 19.5
On 2022-07-18 14:17:59
VFX Breakdown The Man Who Fell To Earth
On 2022-07-15 13:14:36
Resident Evil - Teaser Trailer
On 2022-05-13 13:52:25
New cloud modeling nodes for Bifrost
On 2022-05-02 20:24:13
MPC Showreel 2022
On 2022-04-13 16:02:13
