Here's the prograss so far:
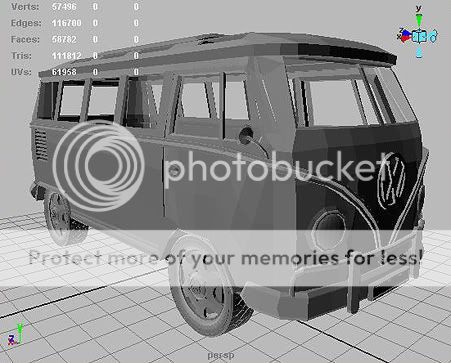
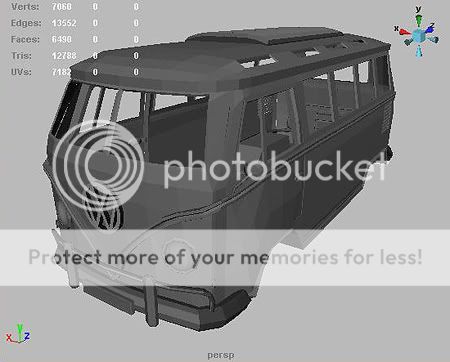
The front:
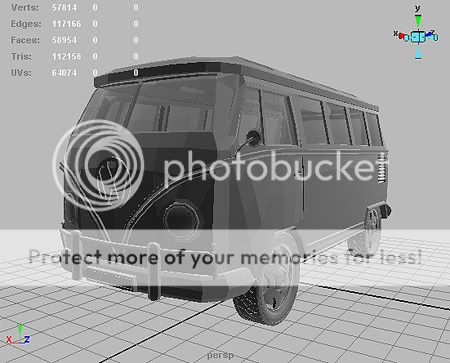
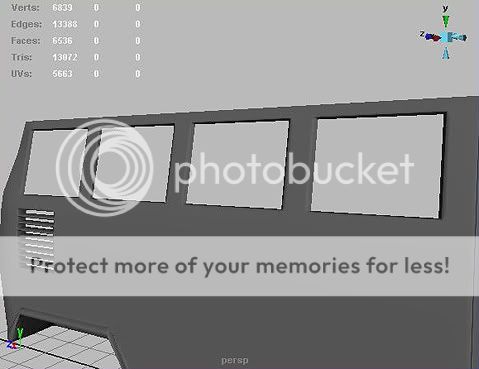
The back:
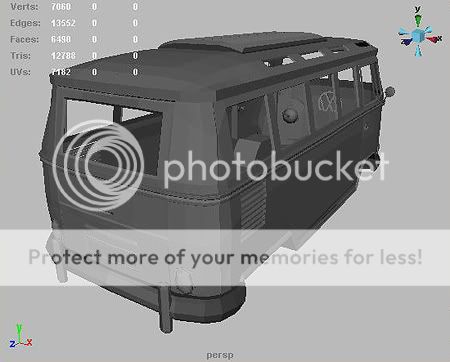
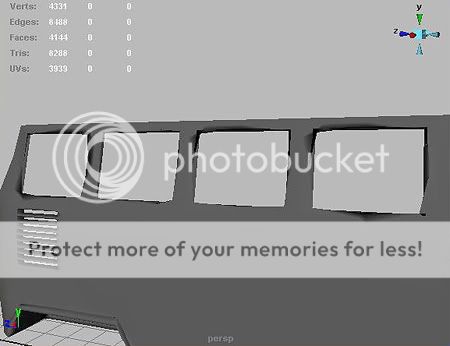
Clay render:
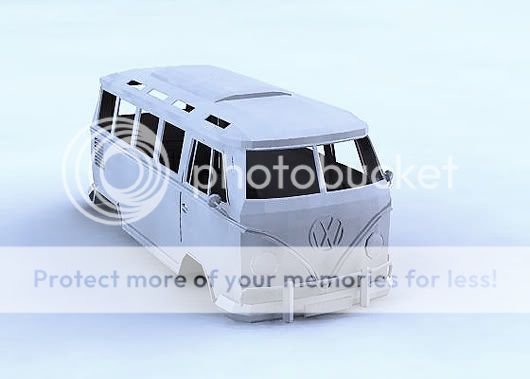
I just need to finish the wheels, windows, side door, extrude & bevel all the parts (so that i could smooth them out),
Then i can start on the interior.
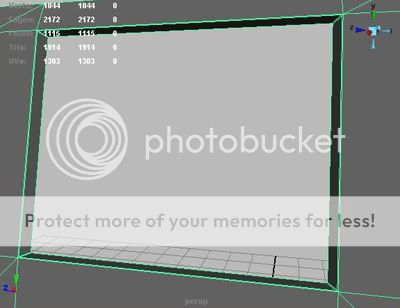
Here's the current prograss on the wheel:
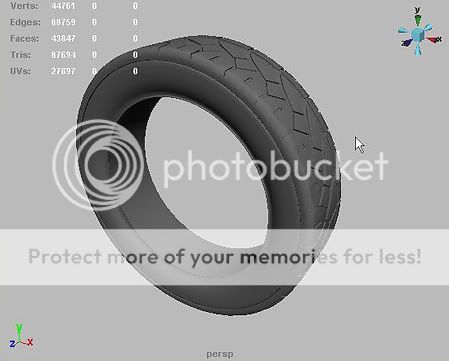
For making that part i've fallowed a simple technique i saw on another tutorial.
I've modelled a very small part of the wheel, then duplicated it 25 times horizonticly, combined all the parts, merged vertexes and then i used the Bend deformer.
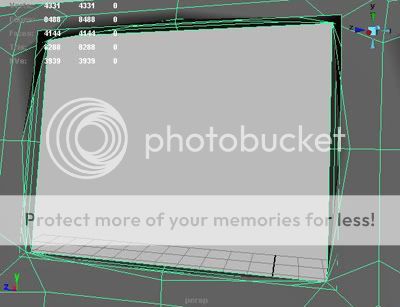
The snap-shoots above are the low-poly version of the van, since i hadn't yet beveled anything, the van is not ready yet for smoothing.
This is what i am trying to re-create: https://www.gspr.com/blau/microbus.html
BTW, this is my first vehicle, tell me what you think of it so far