Digital humans the art of the digital double
Ever wanted to know how digital doubles are created in the movie industry? This course will give you an insight into how it's done.
# 1 25-07-2007 , 09:58 AM
Weyu's Avatar
Registered User
Join Date: Nov 2006
Location: Sweden
Posts: 482

Roman snail

In this work I will try to be more structured then before and set up goals and a plan on how to make the object.

My goals are.

-To get greater knowledge in Zbrush.
-To learn how to use Normal,Displacement and specularity maps on a more effective way.
-How to render with Mental ray to create a more realistic light.

How will I accomplish this?

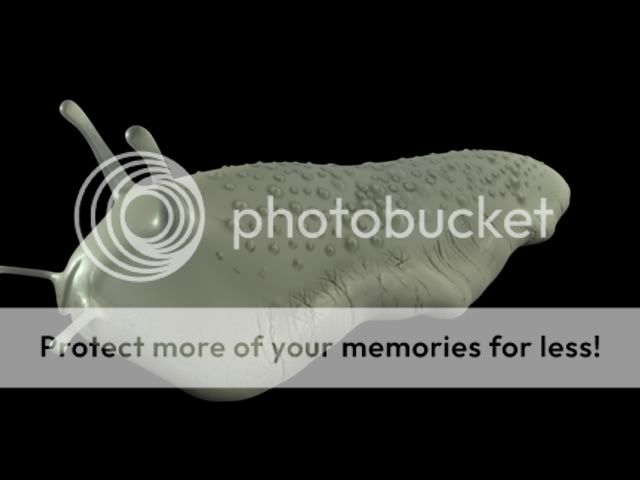
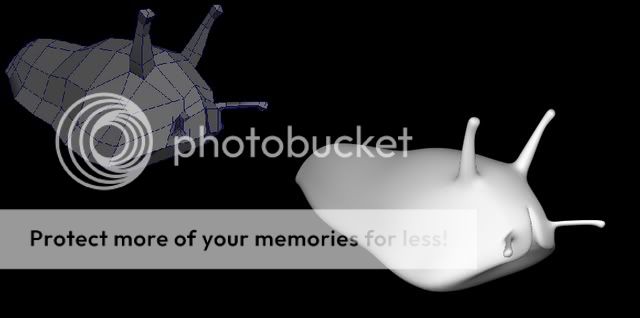
-First of all, modell the Snail and shell in Maya
-Import the the model to Zbrush and create the normal map
-Export the model in lowest subdivision and apply the normal map
-Render It in Mental ray

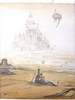
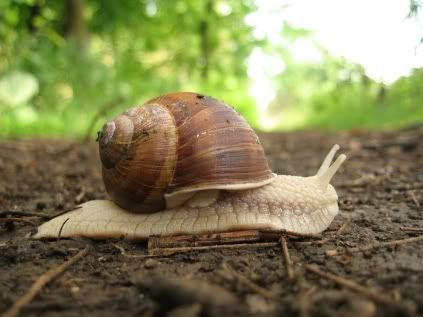
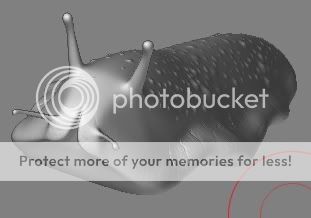
Well here is the reference I'm using

user added image

Hopefully I will have the basic model up tomorow after work. user added image


Last edited by Weyu; 25-07-2007 at 11:20 PM.
# 2 25-07-2007 , 10:40 PM
gster123's Avatar
Moderator
Join Date: May 2005
Location: Manchester Uk
Posts: 6,300
Nice idea for a project.

Just a thught, why are you going to render out normal maps over diaplacement? Just that I would go for dispalcements so you have a sepperate node for bumps.

Also are you using Zbrush 3, which I think you are form the challenge (oh I also posted up something that might help you out in your challenge thread), ive forund that the displacments from z3 are pretty rubbish, ive had to go back into z2 and use the multidispalcement exporter, untill they bring out the version for Z3.


"No pressure, no diamonds" Thomas Carlyle
# 3 25-07-2007 , 10:49 PM
Weyu's Avatar
Registered User
Join Date: Nov 2006
Location: Sweden
Posts: 482
Yeah that was my plan actually, I followed a tutorial that used the multidispalcement. And this was actually one of the main reasons why I resigned from the competition as I apparantly could not open Zbrush 3 tools/documents in old Zbrush. user added image

Hmm, the tought I had about normal/displacement maps were that displacement map worked like a bump while normal maps created "shadows" so that it look high poly.

Like I said before, I have a basic mesh ready for you when I get home. user added image

# 4 26-07-2007 , 08:37 AM
Weyu's Avatar
Registered User
Join Date: Nov 2006
Location: Sweden
Posts: 482
Well here is the snail itself, I'm pretty pleased with the "topology" right now but I think that the "mouth" or whatever it is should be a bit smaller. user added image

Now I'm thinking about the best way to UV map it but I guess I have to adjust some things on it first. user added image

user added image

# 5 26-07-2007 , 07:07 PM
gster123's Avatar
Moderator
Join Date: May 2005
Location: Manchester Uk
Posts: 6,300

Originally posted by Weyu
Yeah that was my plan actually, I followed a tutorial that used the multidispalcement. And this was actually one of the main reasons why I resigned from the competition as I apparantly could not open Zbrush 3 tools/documents in old Zbrush. user added image

YOu can, theres atutorial on it from the thouseoftutoials.com, or if you wanted (i do it this way) export the high poly from z3 to z2 then reconstruct the subdivisions to the base level, then I tweek the low poly uv, switch the geo's then create the displacements using z2, simple.


"No pressure, no diamonds" Thomas Carlyle
# 6 26-07-2007 , 09:45 PM
Weyu's Avatar
Registered User
Join Date: Nov 2006
Location: Sweden
Posts: 482
Well the second main reason is that I wanted to do something new. But thanks alot, I might be able to use that another time later.

And I felt that creating a human was something to big for me to begin with in zbrush thats why I wanted to make this snail. user added image

Regarding the UV I think I will make 2 planar mappings and change them by hand so that they dont become to stretched. And then some cylindrical mappings on the "antennas" or whatever those things are.

It's kind of simply but as I will focus on normal map and displacement map I dont think I will have to make an advanced uv for the snail. Perhaps I will have to make some alpha but those would only be on the antennas anyway.

I think I will make the specularity map as a lighter color map.

I think I will start working with the shell after I'm fully complete with the main snail so to speak. user added image


Last edited by Weyu; 26-07-2007 at 09:58 PM.
# 7 29-07-2007 , 08:50 PM
Weyu's Avatar
Registered User
Join Date: Nov 2006
Location: Sweden
Posts: 482
Well after some tests I've done a zbrush model that I'm pleased with.

Now I need to make the normal/displacement map, wish me luck. user added image

user added image

# 8 29-07-2007 , 09:02 PM
gster123's Avatar
Moderator
Join Date: May 2005
Location: Manchester Uk
Posts: 6,300
I'd add more to the model grab some alphas then you canreally go to work on the model using the projection master, theres some good free omes over at highend 3d


"No pressure, no diamonds" Thomas Carlyle
# 9 30-07-2007 , 04:20 AM
Weyu's Avatar
Registered User
Join Date: Nov 2006
Location: Sweden
Posts: 482
Hmm, you really think so? I think it would look to "messy" if I would add further detail. :S well now I've added the cavity/displacement maps. I think I've done a good job reducing 1000 000 polygons to 4000. user added image (The textures are fairly large tho, 2000 each atm.)

user added image

Posting Rules Forum Rules
You may not post new threads | You may not post replies | You may not post attachments | You may not edit your posts | BB code is On | Smilies are On | [IMG] code is On | HTML code is Off

Similar Threads