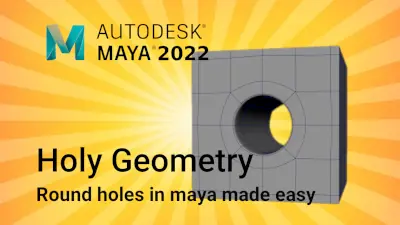
Maya for 3D Printing - Rapid Prototyping
In this course we're going to look at something a little different, creating technically accurate 3D printed parts.
#
1
06-06-2003
, 02:34 AM
June Challenge - DrKnow - Newbie
It's Dr. Know, Not Darknow
#
2
06-06-2003
, 01:41 PM
It's Dr. Know, Not Darknow
#
3
07-06-2003
, 02:49 AM
It's Dr. Know, Not Darknow
#
4
07-06-2003
, 02:50 PM
#
5
07-06-2003
, 03:06 PM
1. Draw the tear drop prop shape using the CV tool (Draw one half and mirror if you like) in the top view. Make sure the curve is closed.
2. Create a planar surface from the curve.
3. Now select a couple of hulls or a batch of CVs and rotate.
Like everything else, there are many different ways to achieve the same thing....some work better than others.
"Terminat Bora Diem, Terminal Auctor opus."
Last edited by NitroLiq; 07-06-2003 at 03:19 PM.
#
6
07-06-2003
, 04:08 PM

adldesigner
Caracas, Venezuela
Hell .. not gone perse, but with a certainly lower post count per day.

#
7
07-06-2003
, 06:27 PM
#
8
08-06-2003
, 07:57 PM
It's Dr. Know, Not Darknow
#
9
10-06-2003
, 12:44 AM
It's Dr. Know, Not Darknow
#
10
10-06-2003
, 12:45 AM
It's Dr. Know, Not Darknow
#
11
10-06-2003
, 06:13 AM
It's Dr. Know, Not Darknow
#
12
10-06-2003
, 12:12 PM
When the only tool you use is a hammer, every problem begins to look like a nail.
#
13
10-06-2003
, 04:15 PM
It's Dr. Know, Not Darknow
#
14
10-06-2003
, 04:21 PM
Actually show your wire is the show wireframe. What I mean by WIP is -as adecuately put by drknow- Work In Progress and as such you´re required to post progress shots of 3d models being built.Originally posted by drknow
WIP means work in progress and to show your wip means to show it in wireframe/component mode...
adldesigner
Caracas, Venezuela
Hell .. not gone perse, but with a certainly lower post count per day.

#
15
10-06-2003
, 04:28 PM
Posting Rules Forum Rules
Similar Threads
New Challenge: My Dream Office $500 First Prize
by Nilla in forum Previous Challenges (Archives) replies 18 on 03-08-2011
June Challenge Rules and Guidelines!
by mtmckinley in forum Previous Challenges (Archives) replies 20 on 30-06-2004
October Challenge - Newbie
by nike in forum Previous Challenges (Archives) replies 3 on 14-10-2003
June Challenge 2003!
by M in forum Previous Challenges (Archives) replies 77 on 01-07-2003
June Challenge - Cyrius - Noobie
by Cyrius in forum Previous Challenges (Archives) replies 26 on 19-06-2003
Topics
Free Courses
Full Courses
VFX News
How computer animation was used 30 years ago to make a Roger Rabbit short
On 2022-07-18 14:30:13
Sneak peek at Houdini 19.5
On 2022-07-18 14:17:59
VFX Breakdown The Man Who Fell To Earth
On 2022-07-15 13:14:36
Resident Evil - Teaser Trailer
On 2022-05-13 13:52:25
New cloud modeling nodes for Bifrost
On 2022-05-02 20:24:13
MPC Showreel 2022
On 2022-04-13 16:02:13

![[icarus_uk]'s Avatar](image.php?u=7129&dateline=1054840783)


