Homely shelf (first attempt without tutorial)
Can't draw a stick figure in traditional drawing properly but would like to make decent 3D (hopefully). Welcome help and feedback. Finds books especially those with few pictures hard to follow, but I like video tutorials. So yeah... newbie here shouting out to the experienced members here hoping to learn from you guys. :bow: :bow: :bow: :p
Anyway, I fooled around with Maya for about a total of a month now and this is my first attempt without tutorials. The 'plus' like shadows are from an image. The rest are modelled and rendered using the conventional Maya stuff and a bit of Mental Ray.
PS: Can anyone show how to get softer shadows on this?
The materials could use a little work, right now they are a little on the ambiguous side.
Oh thanks for the feedback.Originally posted by GecT
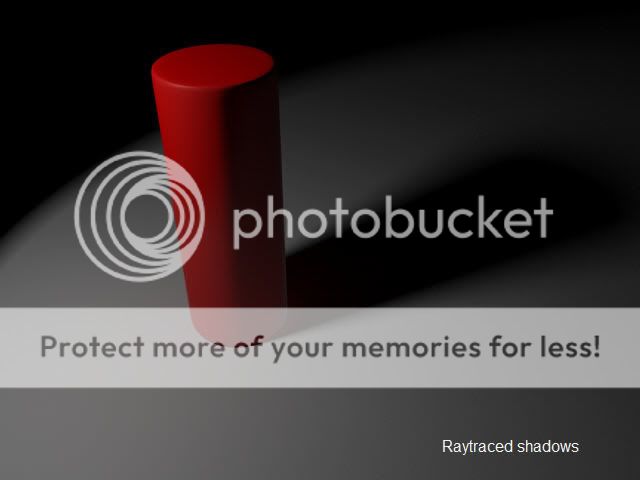
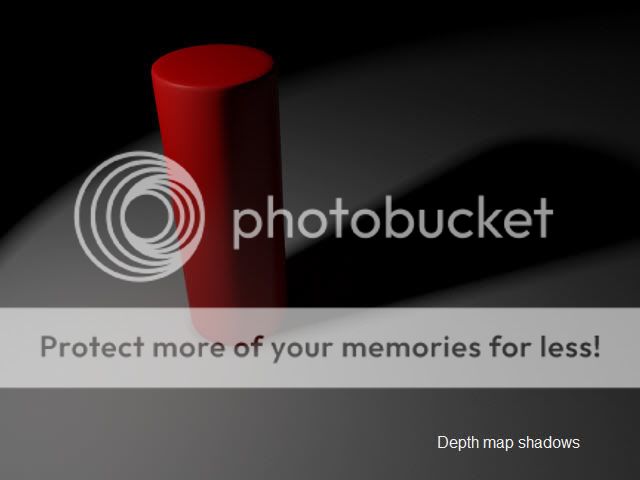
That's actually not bad for a first attempt, though, I don't know what "The rest are modeled and rendered using the conventional Maya stuff and a bit of Mental Ray" means :x. The shadows look soft but there doesn't seem to be any attenuation, so I'm guessing you're using depth map shadows, you can increase the filter size but raytrace shadows with increased light angles are much more accurate.
The materials could use a little work, right now they are a little on the ambiguous side.
It just means they are fully my own work and has no imports from anywhere. (The plus like shadow is imported from a tutorial.)
I am using Raytracing, but it just doesn't look quite right. Is it my lighting? And I've seen this attenuation option. What does it do?
How do I learn about what the different materials and their settings look like without rendering them? I am running on a dated laptop and it takes a long long time to render, so learning rendering by experimentation is not really an option for me. Any suggestions or links?
Thanks again for the suggestions. Especially if you have any on getting good materials settings.
being a light property. Its basically the gradual fading or tapering off of something.
In the case of shadows, they get softer as the distance from the object increases. Depth map shadows are uniformly the same softness/hardness regardless of distance.


I think most people would agree when I say lighting and texturing/shading go hand in hand, they can make or break a render and I did mention the materials in my previous post so no it's not just the lighting. As far as testing materials, I'm afraid you will have no choice but to render them because the preview swatches in the editors can only do so much. Unfortunely if the laptop is too old to manage a sphere on a plane with a spotlight then you may need to upgrade, and hopefully you're not using the "Production" render quality setting.
Join Date: May 2009
The shadow of the mug is very dark. Try changing the shadow colour to a nice grey.
Last edited by taquion; 28-08-2009 at 12:05 PM.
Personally I would not change the shadow colour, unless I was cheating in some way. I would either add to or adjust the lighting thats there.Originally posted by taquion
Try changing the shadow colour to a nice grey.
"No pressure, no diamonds" Thomas Carlyle
Sure you can always up settings but it's often a combination of settings which work which aren't necessarilly the highest and i do hope that he isn't using any presets especially not the mental ray production preset as Gect said it's like killing a fly with a bazooka it packs a punch ,sure nice effects aswell probably although you have a good chance the fly get's away and your house is blown to pieces just use a newspaper or a glass if you are a treehugger LOLOriginally posted by taquion
If you are using directional lights, increase the light angle and the shadow rays.
The shadow of the mug is very dark. Try changing the shadow colour to a nice grey.
My website;
https://www.eyellem.com
LinkedIn:
https://www.linkedin.com/pub/martin-van-stein/42/a81/b82
Yoda post;
https://forum.simplymaya.com/showthre...highlight=yoda
Indiana Jones Post;
https://srv01.simply3dworld.com/showt...threadid=29188


