Its the first time I'm trying to export a render with the mesh on it.
I got it working but the mesh lines are a lot closer together then in my viewport.
Also some stuff seems not to match and I'm getting triangles instead of all quad faces.
Here are my steps:
- Make new material (I made lambert)
- Went into the Mental ray section inside the Material group to enable Contour rendering.
- Applied the material to my object.
- Open render settings and went inside Mental ray section to enable Contour rendering
- Open the Draw By Property Difference Tab
- Select Around All Poly Faces
- Last step to make this work in my maya 2014 was to go into render settings -> Quality -> Sampling -> set unified sampling to Legacy Sampling mode or else Contour rendering won't work.
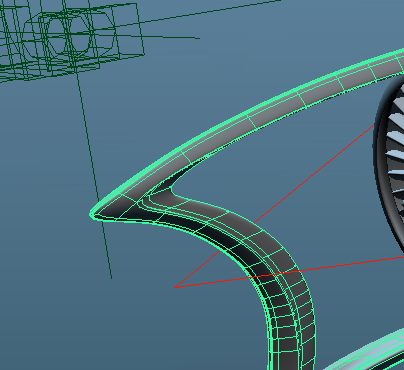
Those are my steps but I get very different results by doing this then the mesh in my viewport which looks a lot cleaner
- Viewport -
- Export -
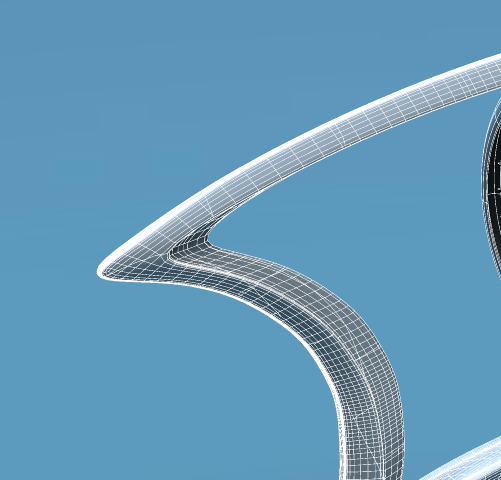
Thanks for the